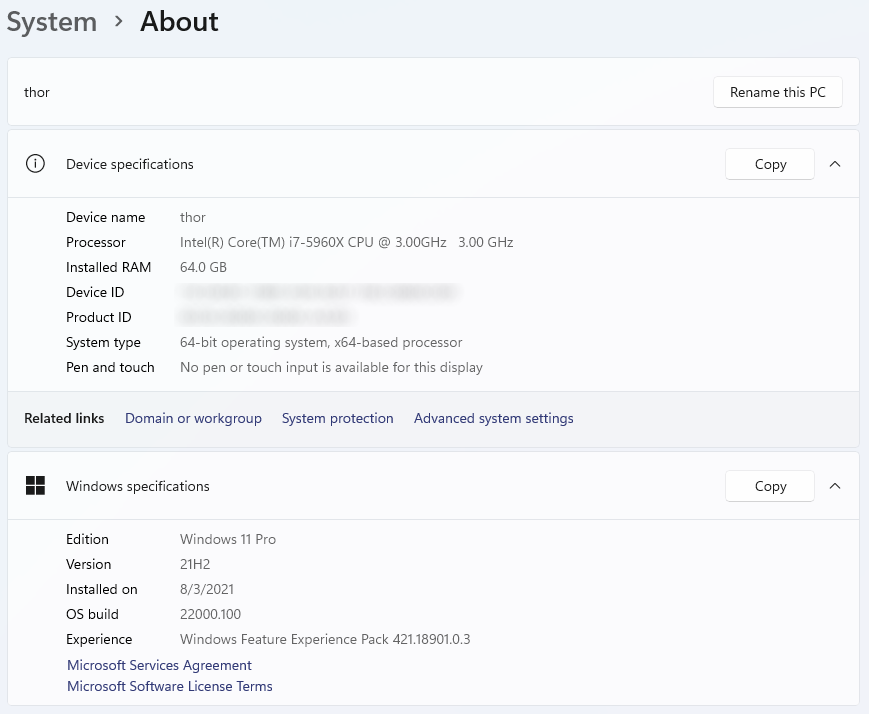
Yes, you can run the new Windows 11 beta or development versions on unsupported hardware. Yes, you will have heard all about it already. No, not every method is the same or works as well.
That said, most of what you see online are in my opinion methods that are not guaranteed to work or can in some cases be problematic.
This method described below always works, on every computer that can run and install Windows 10. Most likely, it will work with the release version of Windows 11, but we will have to wait to be sure obviously.
Step 1: Creating a Windows 10 ISO
Download the Media Creation Tool from the Microsoft site, run it and accept the license terms. It will get some things ready, or so it says so just wait.
When it is done, you are presented with two options:
o Upgrade this PC
o Create installation media (USB flash drive, DVD, or ISO file) for another PC
Select the second option and click next.
Select your language, edition and architecture and click next.
Select ISO image and click next. It will prompt you for a filename and location to save to. Then it should start downloading and generating your ISO file. Just let it run its course.
Step 2: Creating a Windows 11 ISO
Go to the UUP Dump website. This site will help you generate scripts to download and compile an ISO for the Windows software of your choice.
Note: These scripts download the necessary files directly from Microsoft, so it is safe and not some unknown source.
As of this writing, the latest version is “Windows 11 Insider Preview 10.0.22000.100 (co_release) amd64“. Click the release of your choice.
Select your language and click next.
Select your edition(s) and click next. I would choice just Windows 11 Pro here, however it is up to you.
Select Download and convert to ISO and below that, check all but component cleanup under conversion options. Click Create download package.
It will create and download a small zip file of a few kilobytes that contains scripts to create your ISO on Windows, MacOS or Linux.
Open an command prompt as Administrator and run the appropriate script. On Windows that would be uup_download_windows.cmd. Running this will take a while. Let it run. Go have a coffee. When it is done, you will have a Windows 11 ISO.
This ISO can be used on a supported machine to upgrade or install as normal.
Step 3: Creating a hybrid W10/W11 ISO
First we need to extract the Windows 10 ISO we created under Step 1. If you have a program like WinRAR, you can just right click the ISO file and extract or you can double click the ISO file to mount it, and then just copy all files and directories to a place on your hard disk.
When you have the contents of the Windows 10 ISO on your hard disk, navigate to the sources folder in the location you extracted or copied the ISO files to and find the file called install.esd. Delete it.
Now double click the Windows 11 ISO you created and navigate to the sources folder here as well. Again, find the file called install.esd. Copy it, and paste inside the sources folder of your Windows 10 files on your hard disk.
Now you basically have a Windows 10 DVD structure on your hard disk with Windows 11 content. We can now convert this file structure into a new, hybrid W10/W11 ISO.
First, you will need to download and install ImgBurn. Start the program and select Create image file from files/folders. It’s the middle option on the right side.
Select your source by selecting the location of your extracted or copied Windows 10 ISO on your hard disk where we just copied the Windows 11 install.esd to.
Select a destination where you want to save your newly created hybrid ISO to.
Under the advanced tab on the right side of the window, select “Bootable Disc” and make sure to check “Make Image Bootable”.
For the Boot image, browse to boot folder where you extracted your ISO on your hard disk and select the file etfsboot.com.
Lastly, under “Sectors To Load”, change the default of 4 to 8.
Now click the big button on the left bottom to create your new Hybrid ISO. This will be very quick.
Final words
What you have just created is a Windows 10 install disk that contains the Windows 11 files. Because of this, no pre-install checks on TPM, Secure boot or CPU are done and Windows 11 will be installed just like you are used to for Windows 10. After the install is finish, Windows does not do any post-install checks and it just boots and runs.
However, if you are like me and don’t meet most of the hardware requirements, you cannot turn on the Windows Insider option so you can download and install updates as they become available. To fix this, visit this GitHub site to download a small script to enable the Insider channel of your choice (mine is Beta) without even having to log in.
